You’ll feel like hi-fiving once you’ve started your seeds – it really is easy – and no paper towels or fancy equipment is required. As for seeds, all you need is the plantable paper that is the ‘backside’ of your bookmark , or one of our seed packets like Victory or Berkeley Joyride. Just add potting soil, and a small container, and that’s all you need.
Want to TLDR version for starting your seeds and growing Cannabis? We recommend the amazing videos from the ‘HGTV of Cannabis’, GBL TV. Spoiler alert, I am in some of the videos! You can check out their stellar educational content here.
Honestly, Planting Cannabis seeds should make the Farmer’s Almanac ’10 Easiest Vegetable Seeds’ list because it is as easy or easier in some cases. I can not reiterate this enough – please treat them just like other easy to start veggie seeds! No paper towels, no fancy lights or soil, and don’t get intimidated by the b*s on the internet about starting Cannabis seeds. I have literally started hundred of thousands of Cannabis seeds using practical every-day veggie seed starting methods, often side-by-side with my veggie seeds, because it is all done the same! In my life, only peppers and tomato seeds get special treatment. Cannabis seeds are EASY!
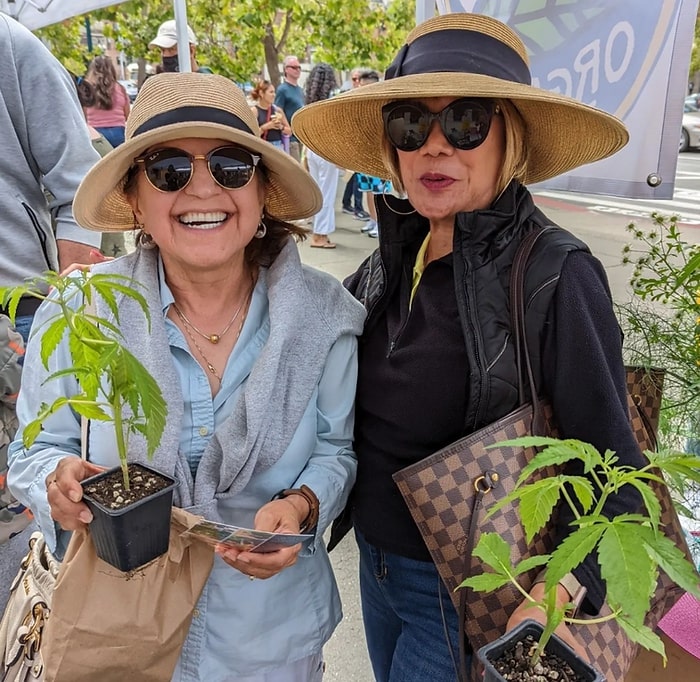
If you want to try starting with plants, USDA organic plants are shipped direct from our farm to your doorstep, and are ready for transplanting, no fuss.
Step 1. Getting Started
Have you ever started your own seeds at home? If you have, go with whatever has worked for you in the past. Again, Cannabis seeds are as easy or easier than everything listed on the 10 Easiest Vegetables to Start from Seed so if it’s worked before, it will work now. Our seeds are tested for purity and germination rate, just like all the other commercial seeds you’ve purchased previously.
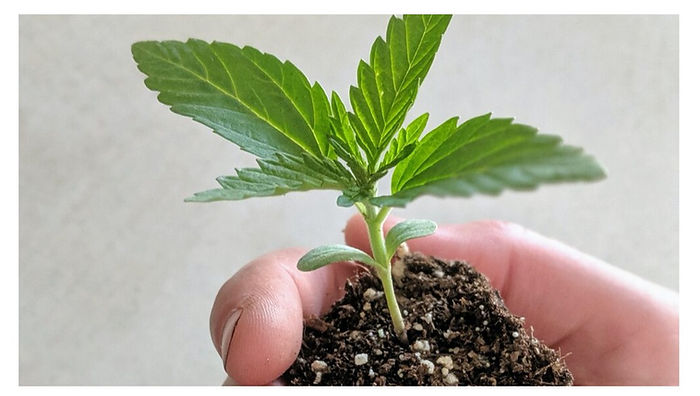
If you haven’t started seeds at home before, yipee! You are about to have an extremely rewarding experience. Cannabis seeds are big, and easier to handle than many seeds (I am looking at you lettuce and carrots…), DO NOT require soaking (side-eye at you peas) and should be started in regular potting soil, just like any other seeds.
When do you start your seeds? Nothing magical about this, starting about 3-4 weeks before you plan on putting them in the ground is a safe bet.
When do you plant outdoors? May 15th through July 4th is optimal planting outdoors time for Cannabis in the U.S. I’ve worked with outdoor growers and at home backyard gardeners for years at this point, and it’s really a matter of personal preference. Going on vacation? No worries. Want to get it done before Father’s Day? You do you.
One note of slight caution regarding outdoor temperature. If temps routinely hit +90deg in June for you, plant in May. Young transplants are not super keen on really hot weather to start with and will need a week or so before high heat. Likewise, if you are in an area with cold winters, plant after your last frost date or about the time you’d put your tomatoes in the ground.
To summarize for everyone, new to starting seeds or seasoned seed starter:
- DO NOT google how to start Cannabis seeds. So much b*s
- DO start your seeds in regular potting soil in containers, like you would any other veggies
- DO start your seeds 3-4 weeks before you want to plant them in their final home outside
- Cold winters? Safe bet is to plant in June, so start seeds in May (just like the majority of other veggies in your area….)
- +90deg weather in June? Safe bet it to plant in May, so start seeds in April (just like the majority of other veggies in your area….)

Step 2. Supplies
I have literally participated in the germination of over a hundred-thousand Cannabis seeds on our farm. Cold weather, warm weather, kept a little dry, kept a little wet…. again, these are not finicky seeds! My practical advice for starting seeds in containers is to prep:
- All-purpose potting soil in 4″ pots or eqiuvalent
- Below 50 degrees for most of the day where you live? Start on a sunny windowsill indoors or greenhouse if you have one.
- 50 degrees or so for most of the day (I’m looking at you Los Angeles) outside your home? You can start indoors, or a sunny spot on your patio or backyard.
Step 3. Doin’ It Right
- Wet the soil so water drains out the bottom.
- Make a little 1/4″ indentation with a stick or your finger.
- Drop in 1 seed, or in the case of the plantable bookmark, tear off a section with a seed.
- Place into that indentention, cover with soil.
- Add a bit more water to soak the seed into place (like a 1/3cup)
- Say ‘Goodluck little seed!’ and walk away. Ok this is what I do, you can say whatever you like to with your seed well.
Step 3. Followup
- Every other day check on your containers. Looking dry? Add a gentle amount of water (1/3cup). Looking moist? Do nothing.
- After 7-14 days you should expect a little seedling to pop up. At this point give it a big gentle drink of water (1 cup) and go back to checking per #1 and when dry adding 1 cup of water at a time.
Step 4. Plant Babies
Now that your seeds have sprouted they will start growing leaves, getting taller and thicker above ground, and developing a nice root system below. Let them develop in this way repeating Step #3 until you want to move them to their final home (the ground? a container?) or if you need an intermediate container (still too cold where you live?) like a 1 gal pot to transplant into. Follow the same transplanting advice as you would for all veggies in the garden. If you have a dilute fertilizer to use at this point go for it, if not no biggie. If you are using brand new potting soil, it will have what your plants need for now.
If they are starting to look about hand-sized in the 4″ container, they are ready to go into their final home for sure, and you can follow the directions here.